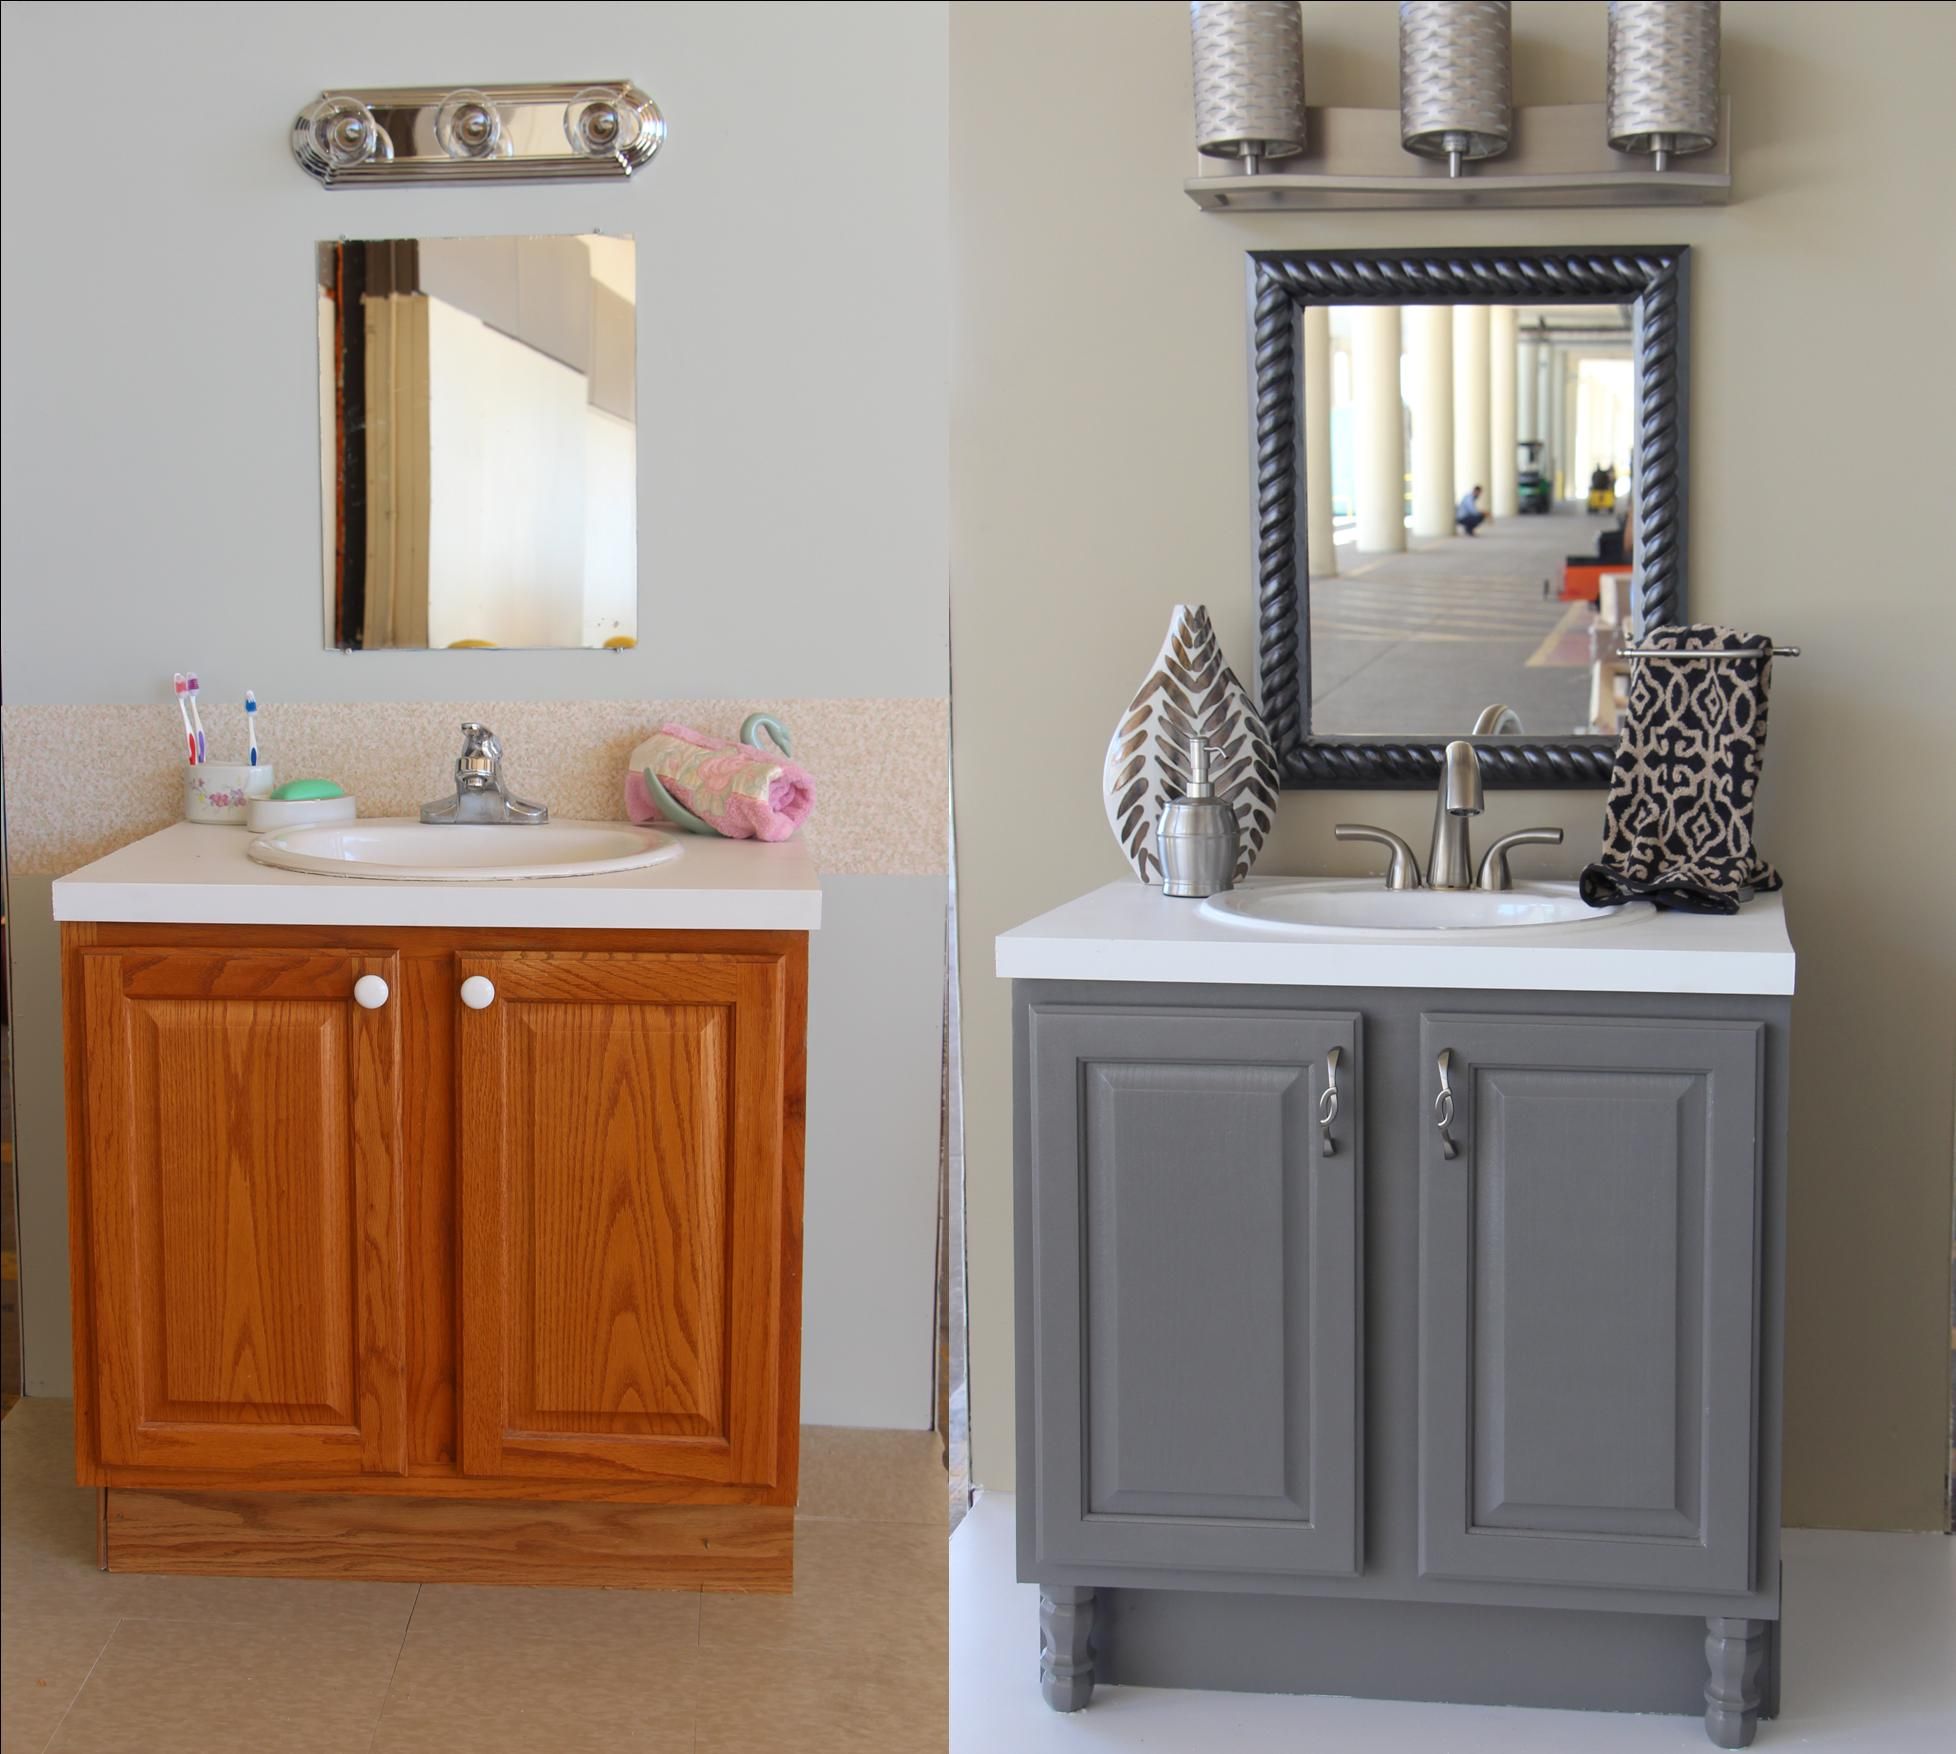
Choosing the Right Paint Type: Best Paint For Cabinets Bathroom

Choosing the right paint type for your bathroom cabinets is crucial for ensuring a durable, moisture-resistant, and long-lasting finish. Each paint type has its unique advantages and disadvantages, which you need to consider carefully before making a decision.
Types of Paint for Bathroom Cabinets
The three most common paint types used for bathroom cabinets are oil-based paint, latex paint, and epoxy paint. Each type has its own characteristics and suitability for different applications.
- Oil-Based Paint: This type of paint is known for its durability, moisture resistance, and high-gloss finish. It dries slowly, offering ample time for smooth application and correction. However, it emits strong fumes, requiring proper ventilation during application and drying. Cleanup requires mineral spirits, making it less convenient for most users.
- Latex Paint: Latex paint is water-based and offers excellent adhesion to various surfaces. It dries quickly, making it convenient for multiple coats. Latex paint is also low-odor, making it a preferred choice for indoor use. However, it may not be as durable or moisture-resistant as oil-based paint. Latex paint is generally less forgiving in terms of application, requiring careful brushwork to avoid brushstrokes.
- Epoxy Paint: Epoxy paint is a two-part system, combining a resin and a hardener. It forms a tough, durable, and moisture-resistant coating that is ideal for high-traffic areas like bathrooms. Epoxy paint is highly resistant to scratches, stains, and chemicals. However, it is more expensive than oil-based or latex paint and requires meticulous preparation of the surface for proper adhesion.
Paint Type Comparison Table
Here is a table comparing the three paint types based on various factors:
| Feature | Oil-Based Paint | Latex Paint | Epoxy Paint |
|---|---|---|---|
| Durability | High | Moderate | Very High |
| Moisture Resistance | High | Moderate | Very High |
| Ease of Application | Moderate | Easy | Difficult |
| Drying Time | Slow | Fast | Moderate |
| Cleanup | Mineral Spirits | Water | Special Cleaners |
| Fumes | Strong | Low | Moderate |
Recommended Paint Brands
Several paint brands are known for their high quality and suitability for bathroom cabinets. Some popular and reliable brands include:
- Benjamin Moore: Benjamin Moore offers a wide range of paint options, including their Advance Interior Acrylic Latex paint, which is specifically designed for high-moisture areas. They also offer oil-based paints like their Regal Select Interior Acrylic Enamel.
- Sherwin-Williams: Sherwin-Williams is another reputable brand known for its durable and moisture-resistant paints. Their Emerald Interior Acrylic Latex paint is highly recommended for bathroom cabinets, offering excellent coverage and a smooth finish. They also offer oil-based paints like their Duration Home Interior Acrylic Enamel.
- Valspar: Valspar offers a variety of paint options at affordable prices. Their Reserve Interior Acrylic Latex paint is known for its durability and moisture resistance, making it suitable for bathroom cabinets. They also offer oil-based paints like their Signature Interior Acrylic Enamel.
Preparing Cabinets for Painting

A well-prepared surface is the foundation for a beautiful and long-lasting paint job. Proper preparation of your bathroom cabinets involves a series of steps that ensure the paint adheres properly and provides a smooth, even finish. This process involves cleaning, sanding, and priming, each step playing a crucial role in achieving the desired results.
Cleaning Cabinets, Best paint for cabinets bathroom
Thorough cleaning is the first step in preparing your cabinets for painting. This removes dirt, grease, and grime, allowing the paint to adhere properly.
- Gather your supplies: You will need a damp cloth, mild detergent, a scrub brush, and a bucket of warm water.
- Remove cabinet doors and hardware: To ensure thorough cleaning, remove the cabinet doors and hardware. This allows you to clean all surfaces effectively.
- Clean the cabinet surfaces: Use a damp cloth and mild detergent to clean all surfaces of the cabinets, including the doors, frames, and shelves. Pay special attention to areas that are prone to grease and grime, such as around handles and hinges.
- Rinse and dry: Rinse the cabinets thoroughly with clean water and dry them completely with a clean cloth. This removes any residue from the cleaning solution and ensures the paint adheres properly.
Sanding Cabinets
Sanding smooths out any imperfections on the cabinet surfaces, creating a uniform base for the paint.
- Gather your supplies: You will need sandpaper in various grits (80, 120, and 220), a sanding block, and a dust mask.
- Start with coarse grit sandpaper: Begin with 80-grit sandpaper to remove any rough spots, scratches, or imperfections. Use a sanding block to ensure even sanding and avoid creating new imperfections.
- Progress to finer grits: Gradually move to finer grits of sandpaper (120 and then 220) to smooth out the surface further. Each grit removes the scratches from the previous grit, resulting in a progressively smoother surface.
- Sand in the direction of the wood grain: Always sand in the direction of the wood grain to avoid creating cross-grain scratches that will be visible after painting.
- Remove sanding dust: After sanding, use a damp cloth to remove all sanding dust. This ensures the primer adheres properly and prevents dust particles from becoming trapped in the paint.
Priming Cabinets
Priming provides a barrier between the cabinet surface and the paint, promoting adhesion and ensuring a smooth, even finish.
- Gather your supplies: You will need a primer specifically designed for cabinets, a paintbrush or roller, and a drop cloth.
- Apply primer evenly: Use a paintbrush or roller to apply a thin, even coat of primer to all surfaces of the cabinets. Ensure to cover all areas, including edges and corners.
- Let the primer dry completely: Allow the primer to dry completely according to the manufacturer’s instructions. This ensures proper adhesion and prevents the paint from lifting or peeling.
Painting Techniques and Tips
Applying paint to bathroom cabinets requires precision and attention to detail to achieve a professional-looking finish. This section explores the best techniques for applying paint, including brushing, rolling, and spraying, along with tips for achieving a smooth and even finish.
Choosing the Right Painting Technique
The best painting technique for bathroom cabinets depends on the size and complexity of the project. Each technique has its own advantages and disadvantages, and choosing the right one will help you achieve the desired results.
- Brushing: Brushing is a good option for detailed areas, such as corners, edges, and moldings. A high-quality brush with synthetic bristles is recommended for applying paint to bathroom cabinets. The brush should be angled for easy application and control.
- Rolling: Rolling is an efficient technique for covering large surfaces, such as cabinet doors and drawers. Use a high-quality roller with a nap length that matches the surface texture. Apply a thin coat of paint, ensuring that the roller is fully loaded and the paint is evenly distributed.
- Spraying: Spraying is the fastest and most efficient technique for painting cabinets. It provides a smooth and even finish, but requires a spray gun and a well-ventilated area. Use a high-quality spray gun with a nozzle size that matches the type of paint being used. Apply several thin coats of paint, allowing each coat to dry completely before applying the next.
Tips for Achieving a Smooth and Even Finish
Achieving a smooth and even finish is crucial for a professional-looking result. Here are some tips for handling corners, edges, and hardware to achieve a flawless finish.
- Corners and Edges: Use a brush to apply paint to corners and edges, ensuring that the paint is evenly distributed and covers the entire surface. Apply a thin coat of paint, allowing it to dry completely before applying the next coat.
- Hardware: Remove all hardware from the cabinets before painting. This will ensure that the paint is applied evenly and that there are no drips or streaks. After painting, reattach the hardware.
- Cutting In: Use painter’s tape to protect areas that are not being painted, such as walls and trim. Apply a thin coat of paint to the edges of the cabinets, using a brush to create a clean line.
- Sanding: Lightly sand the paint between coats to create a smooth and even finish. Use fine-grit sandpaper to avoid damaging the paint.
Painting Cabinet Doors and Drawers
Painting cabinet doors and drawers requires a specific approach to prevent drips and streaks. Here is a visual guide demonstrating how to paint cabinet doors and drawers, including tips for preventing drips and streaks.
- Prepare the Surface: Clean the cabinet doors and drawers with a mild detergent and water. Allow them to dry completely before painting.
- Apply Primer: Apply a primer to the cabinet doors and drawers, ensuring that it is evenly distributed and covers the entire surface. This will help the paint adhere to the surface and create a smooth finish. Allow the primer to dry completely before painting.
- Apply Paint: Use a high-quality brush or roller to apply paint to the cabinet doors and drawers. Apply a thin coat of paint, ensuring that it is evenly distributed and covers the entire surface. Allow the paint to dry completely before applying the next coat.
- Handle Drips and Streaks: If you notice any drips or streaks, use a damp cloth to wipe them away immediately. Allow the paint to dry completely before applying the next coat.
